Imaginative Realities
Cyber Security and Stray Thoughts
29 December 2022
Proxmox Homlab Design & Install
by Chris
 Here are some loose thoughts on how I set up my Proxmox VE server. I cover an assortment of topics up to running my first virtual machine (VM); just my homelab design theory, the install and some initial config.
For those that don’t know, Proxmox VE provides server-based management for virtualization. That is, it’s more than a type I hypervisor: it offers extensive abilities to manage system containers (that is, not application containers such as Docker, though there are stop gap solutions) as well as VMs. Its based on Debian, a GNU/Linux distro, and so its commands can be familiar to those that work with linux.
But wait, that is not all! It also offers management of storage, networking, HA and redundancy for everything, not to mention management of multiple hardware implementations through clustering. I’ve read that its similar to VMWare’s ESXi with VSphere, though it offers a wider range of freeware than VMWare does.
Installing Proxmox
Homelab Context
By way of context, when I decided to set up a Proxmox-based homelab I set myself a modest budget. I had the further limitation of minimizing noise in the room where the hardware would be located. I didn’t plan on running this server five-nines style; it’d be a testing lab that I would power on only when I was actively working on it.
Hardware Options
After some research, I discovered this wasn’t all that uncommon of a scenario. I saw a lot of information on users adopting Intel NUCs for this kind of entry-level homelab tinkering. But that wasn’t the only option: I briefly considered a build from SilentPC; an option from SuperMicro such as the SYS-E100-9S (pricey); and a Protectli Vault. Those last two were pretty interesting from the perspective of minimizing noise through fanless designs, though the SuperMicro options were a little dated when I looked. I came very close to buying one of those Vaults.
Price won out in the end. I decided to repurpose my desktop tower by upgrading its memory from 16 to 32 GB and buy a new mini desktop as a workaday machine. This option was cheaper than all of the others, especially considering that I opted for an integrated GPU for my new machine and there were some deep discounts in the final days of 2022.
I think its plausible that my old standard HP desktop tower can handle life as a Proxmox server. I’m also aware that this scenario isn’t what its designed for, so I hope to report back one day on how it goes.
Preparing the Installation Media
For any questions during the install, I followed instructions from the official Proxmox documentation
I won’t go into obtaining the Proxmox .iso and writing it to a USB drive. Should you need help with that, there are plenty of guides to be found through an internet search. Alternatively, one can adapt my instructions under “Creating the Bootable USB” found on my blog here.
A Brief Note on Ventoy
Ventoy is a handy little program to place on USBs to facilitate the install and organization of distro .iso files.
I downloaded the .iso file for Proxmox VE and wrote it to a USB thumb drive that had Ventoy embedded in it. I then plugged this into my HP Tower and hit the ESC key to select a different boot order in the UEFI of my machine. I queued the USB up as first in line and selected reboot. Ventoy took care of the rest. Ventoy allowed me to select from the bootable .isos on the thumb drive and initiate the Proxmox .iso installer.
The Proxmox Graphical Installer
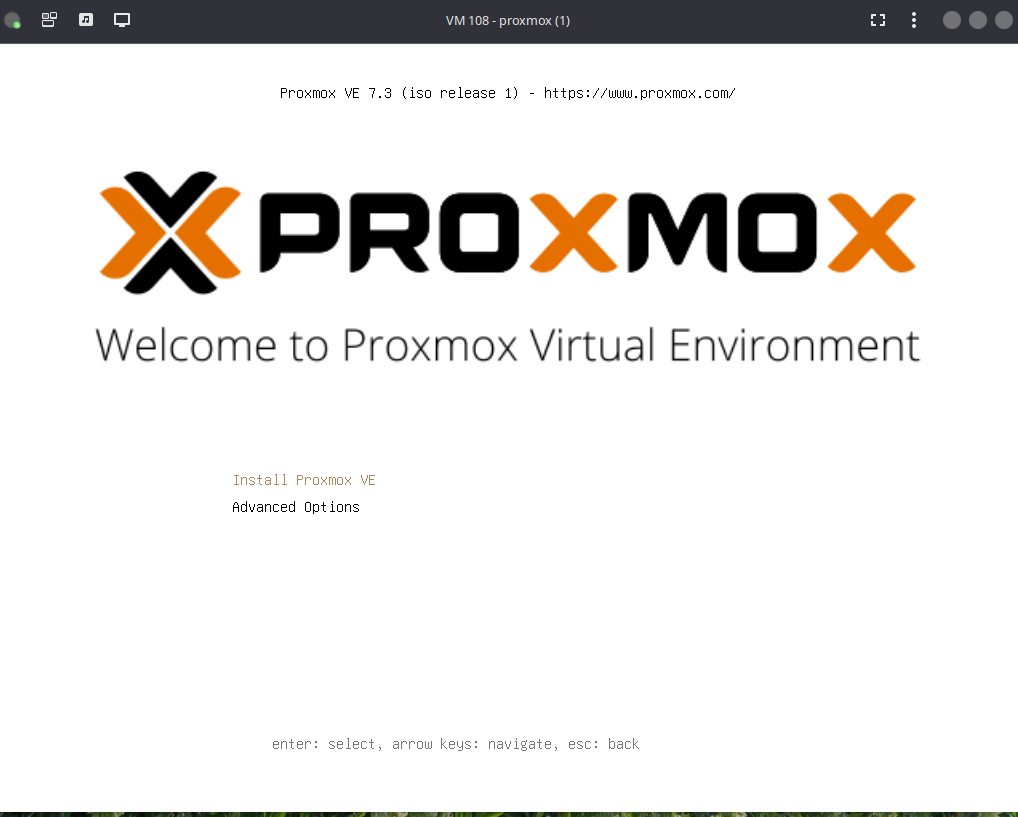
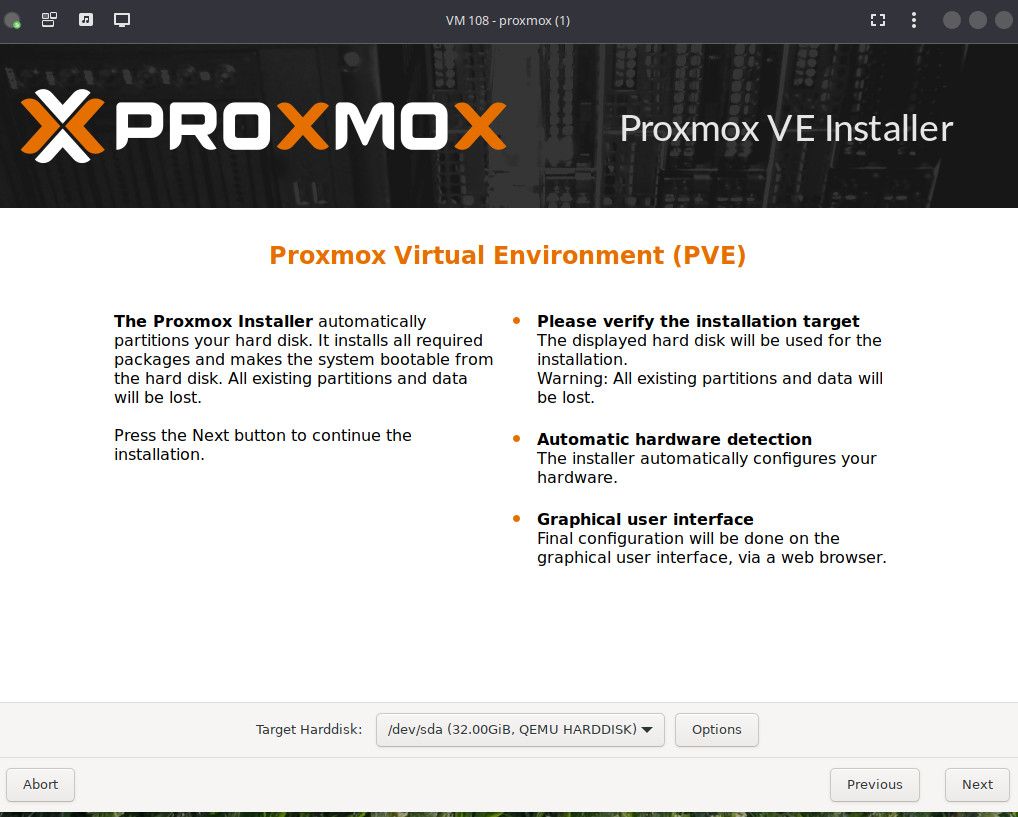
The Proxmox installer was easy to use. The installer itself asked if you want to install, test or rescue. Selecting “Install Proxmox VE’ activated the installer with an agreement page. It then ran through some basic options. I opted for the defaults in setting up partitions: ext4, LVM.
The following two screens dealt with timezones, keyboards, and passwords. These were straightforward.

Next up was a screen titled “Management Network Configuration.” I took some more time with this screen.
- For the interface I selected the Ethernet connection (the option typically starts with “en;” recall that you can’t install Proxmox using solely Wi-Fi as a connection method).
- For hostname I made something up with the extension .apra because I’ll be using this on my personal LAN for my homelab. My rationale was that I wanted to somehow signify that it wasn’t an active hostname.
- Because this machine is on my home LAN, I already knew the IP and subnet assigned by my router’s DHCP server, and so entered those. I also have a Pi-Hole setup managing DNS, and so offered a non-router IP for that field as well.

Last up was a review and confirm install screen. Between the graphical installer steps and the actual install time, the whole process couldn’t have been more than 30 minutes.
Optional Configuration
Proxmox’s Configuration Methods
Proxmox offers two methods for configuration of its services: either through the command line or through a graphical UI (GUI). If you choose the GUI, you can use the IP address you supplied in the graphical install with the port 8006 appended, so it’d look something like https://10.0.0.1:8006. Since I was new to Proxmox I decided a little support via abstraction wouldn’t hurt, and so I chose to use the GUI instead of the command line.
One warning here, I very briefly had a problem in trying to connect to the GUI. I didn’t realize it, but my browser had somehow ignored the HTTPS connections only rule and had created an insecure HTTP connection to the Proxmox IP. That was the source of failure. Proxmox requires TLS connections through HTTPS. It only took a minute for me to figure out the problem and simply ensure that HTTPS showed in the address.
Shared Data Storage
NFS Connections
Setting up a shared data storage volume was also very easy through the GUI. I decided to go with a NFS connection since I’m not worried about security and because I’m using Linux options for both the Proxmox host and the Network Attached Storage (NAS).
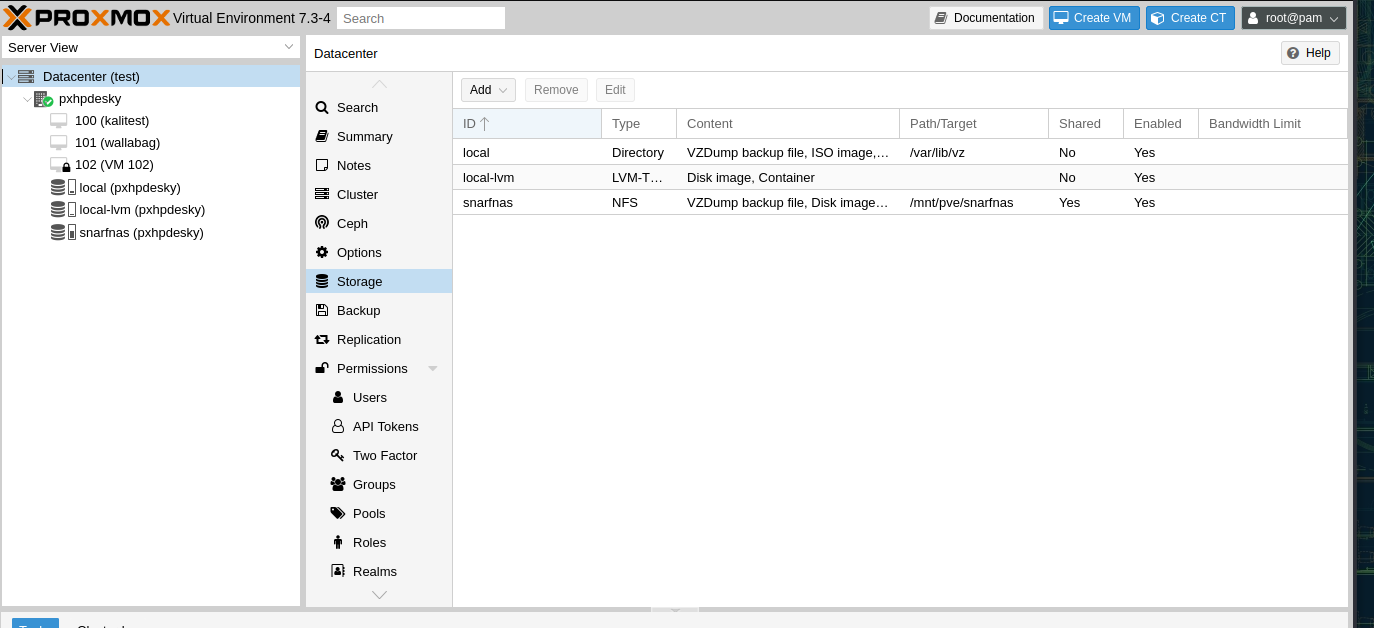
To begin, I made sure the left side menu had “Server View” selected. I began by selecting the “Datatcenter” entry in the left side pane. This in turn brought up options in the middle pane, one of which was for “Storage.” In that storage option it was as simple as clicking the add button above the entries and selecting NFS from the drop-down.
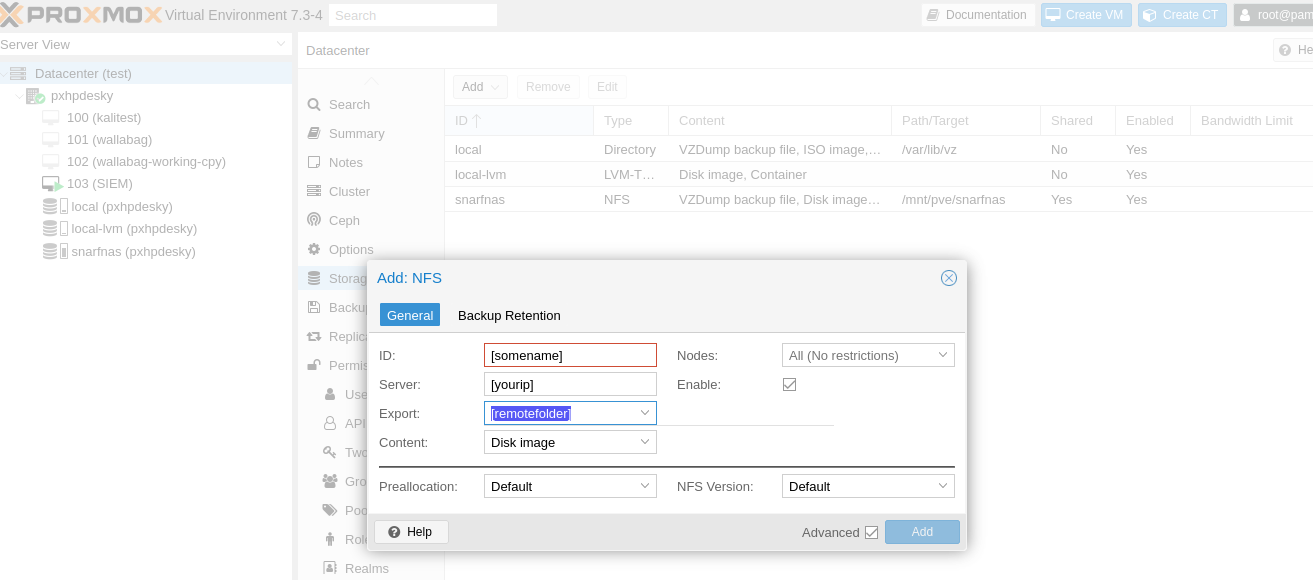
 For the options I gave it a name, entered the IP of my NAS, and for “export” entered in the folder on the NAS where I wanted Proxmox to store files.
Preparing for VMs
Staging .iso Files
Being new to Proxmox, I was a bit flummoxed at first on how to burn an .iso image using Proxmox’s VM creation tool. The VM creation tool is really prominent up in the right-hand corner. But how an .iso would interact with the VM creation tool was not at all apparent. After some digging I discovered that I had to stage the .iso file first by storing it using Proxmox VE management console, rather than collecting the .iso files outside of Proxmox and burning them to USBs as I had done when distro-hopping.
This design makes sense, as I suppose if one is taring down VMs often, it’d be convenient to have the .isos loaded and ready for rebuilding them. This option certainly feels more organized than the download -> burn to usb -> transfer to another machine process.
.iso File Storage Steps
To stage the .iso files, you have to select one of the storage options you created: whether a shared data storage space or the storage you set up s part of the initial install. In the left-hand pane, under “Server View” you’ll have to find one of those storage options (they tend to be at the bottom). Clicking on the storage option will bring up a menu in the middle pane, of which “ISO Images” should be one of the options (this may not appear if you added additional storage but didn’t configure it to store .iso files).
In the right-hand pane, Proxmox gives you the option to paste a link into a field where Proxmox will proceed to download the .iso file. Alternatively, you can upload a local .iso file where Proxmox will open a file chooser on your current machine. The nice thing about either option is that you can supply a checksum for hash checking and Proxmox will automatically check the uploaded/downloaded .iso against the checksum.
After downloading/uploading you have staged your .iso file and should be ready to move on to creating a VM or container.
tags: